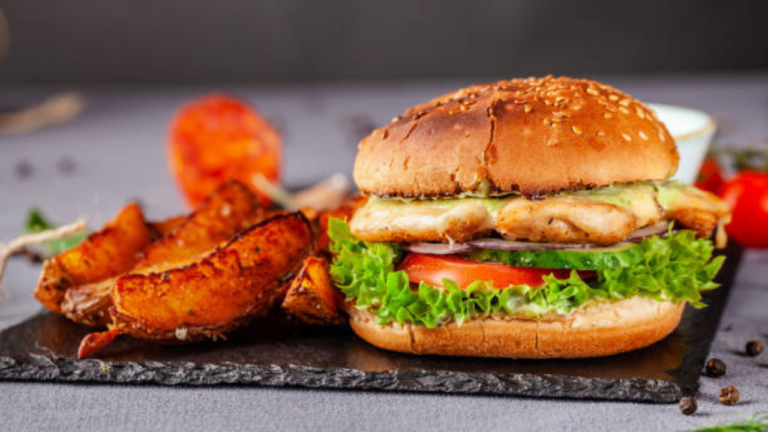
Little Things Can Have A Big Impact: Easy Food Photography Tricks
Beautiful imagery is produced by food photography, which is a kind of art that depends heavily on light. It would be impossible to do photography without sufficient lighting. Therefore, understanding and mastering lighting is essential for any aspiring food photographer.
This article will cover the foundations of food photography, go over the necessary gear for a simple setup, and introduce some important lighting ideas. This article promises helpful advice on moving from natural to artificial lighting for those who want to do so.
Even though it could appear intimidating initially, you can generate artificial lighting that resembles the natural light you may already be accustomed to with the correct information and practices. Because artificial lighting gives photographers more control and consistency over their shots, a lot of professional food photographers these days like it.
Now let’s go into the specifics of food photography lighting and give you the tools you need to take your shots to the next level.
All You Require To Begin Is Here:
Necessary Lighting For Food Photography,
After discussing the value of lighting in food photography and the advantages of artificial lighting, let’s take a closer look at the basic setup for artificial lighting. This arrangement acts as a foundation for you to stretch and adjust the light to tell different stories and evoke different moods in your photos. The standard soft light setup for food photography consists of a reflector, a diffuser, and a sidelight.
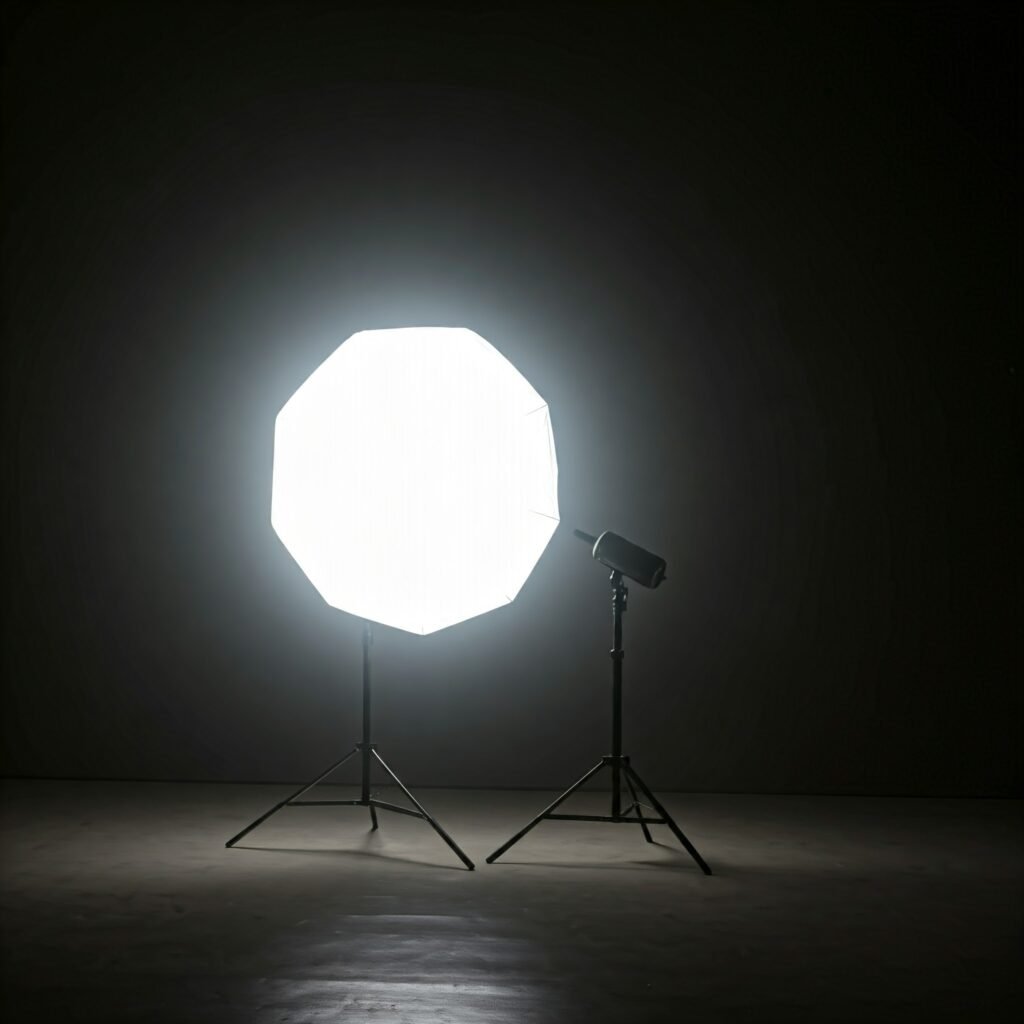
The diffuser, which is positioned between the light source and your subject, softens and distributes the light, while the sidelight, which is positioned next to your scene, acts as the main light source. A reflector is positioned across from the light source to reflect light back onto the subject to try to counteract any shadows. The subject and camera are usually placed next to the light source in this simple configuration, which is usually placed next to a window where side light streams in. Once you’re more at ease with this configuration, you can try out other methods of manipulating light. But to get started, all you really need is a diffuser and a reflector.
These are frequently available in sets, and getting the largest size is advised. A reflector returns light to the scene to fill up any shadows, while a diffuser aids in distributing light evenly onto that subject. A reflector may be made from any kind of surface, such as reflective metal sheets or white foam boards. To reflect light back onto the scene, simply set the reflector opposite the light source and close to the subject. You can control natural light with this fundamental arrangement to produce beautiful food photography.
The Most Frequent Setup Of Lights,
Soft light is the lighting configuration that is most frequently put in in food photography because it best captures the texture and fine details of food. Soft shadows, which can be used to produce multiple types of moods from light and airy to moody and dramatic, are a characteristic of soft light. The secret to producing soft light is to equally split and soften the light using modifiers like reflectors and diffusers. Food textures and shapes can be highlighted in these kinds of lights, resulting in visually interesting photos.
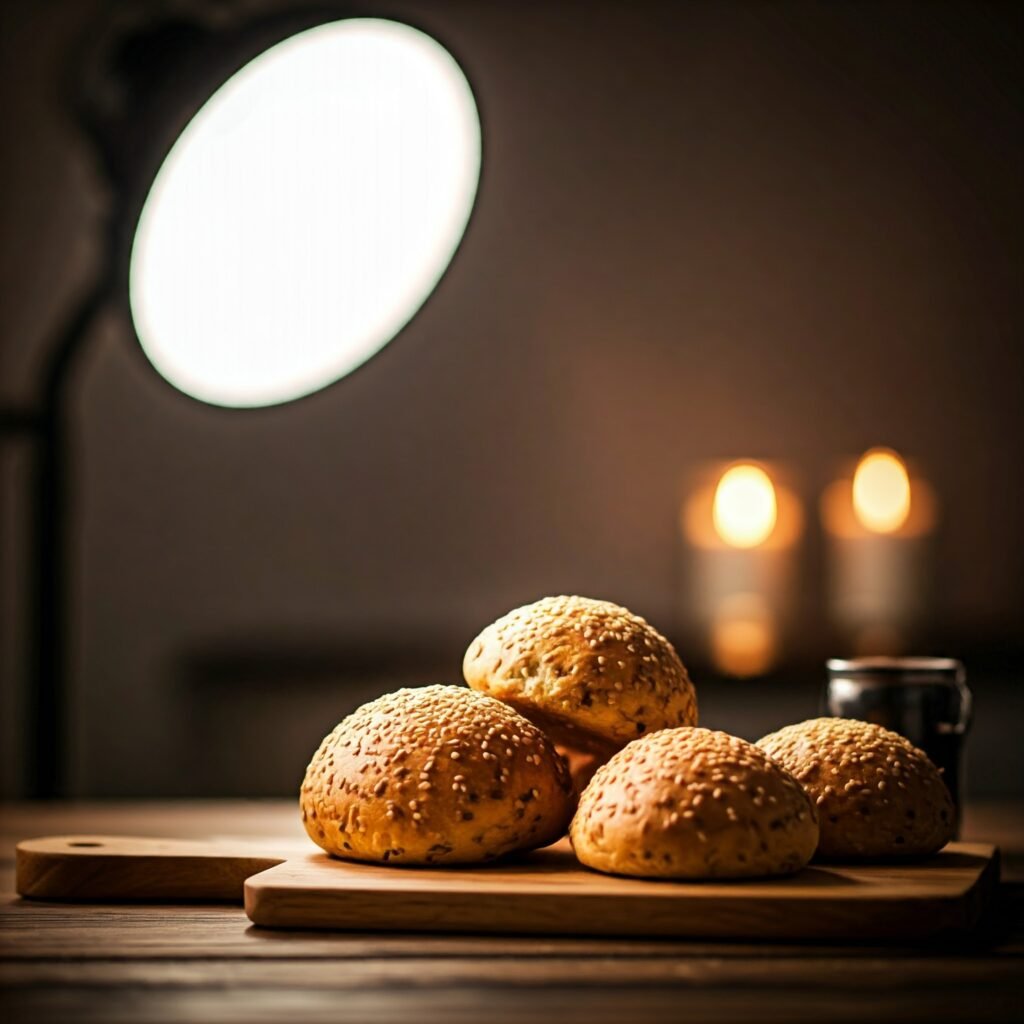
The ideal base for any food photography setup is soft light, regardless of the atmosphere you want to portray: bright and airy or gloomy and dark.
Two Light Directions,
In food photography, side light and backlighting are the two primary light directions that are commonly used. Backlight occurs when light is coming from behind the subject and opposite the camera, although side light occurs when the light source is to the side of the subject and camera. Yet both can be used to create stunning food photos, side light is often chosen since it might become used in many kinds of configurations and is a great option for newcomers to start.
The Impact Of Daylight On Light,
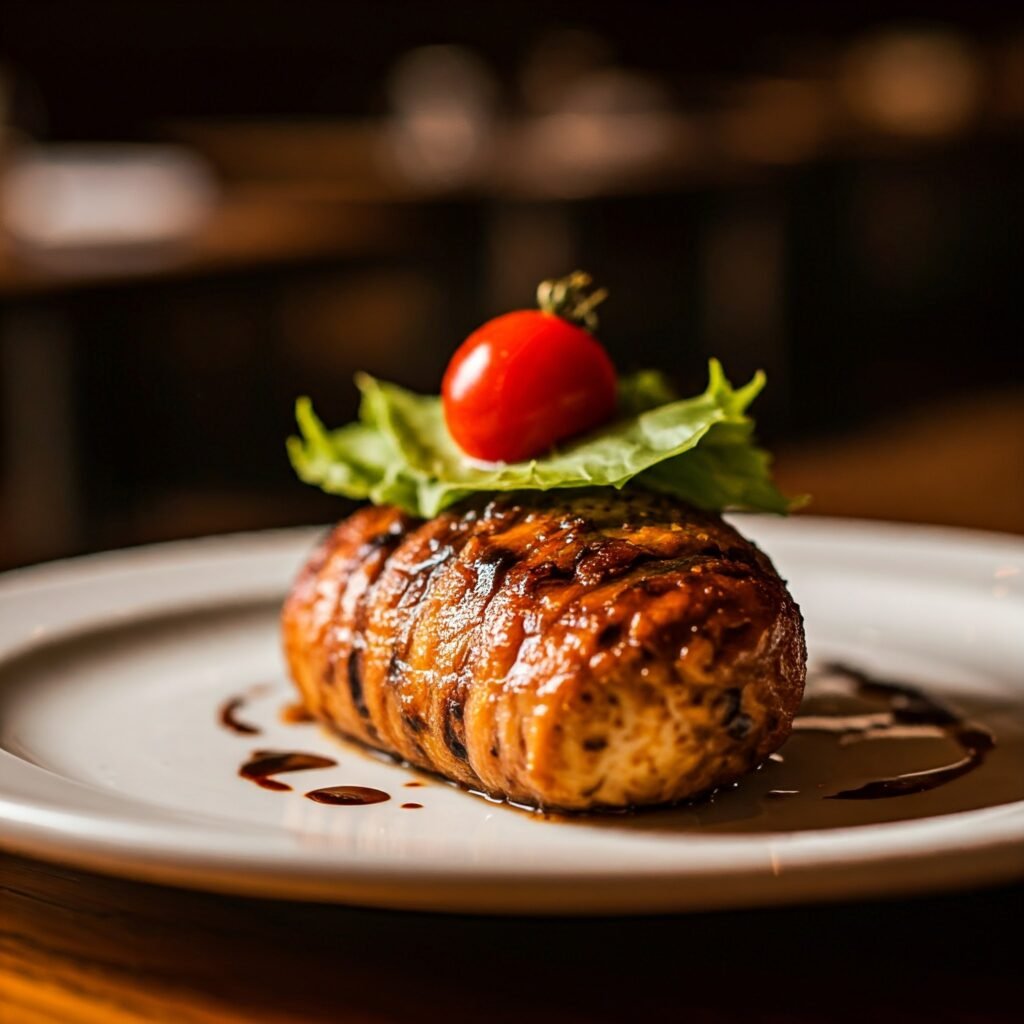
The lighting in your food photos is also greatly influenced by the time of day. The light’s direction, intensity, and feel can all change heavily from dawn to dusk. Photographers need to understand these changes and how they may impact their work. Taking pictures of a bowl of fruit at multiple places and times around your house can be a useful exercise to see how the light varies over the day. Following this practice, you will improve your understanding of light and determine which parts of your house are ideal for taking natural light photos.
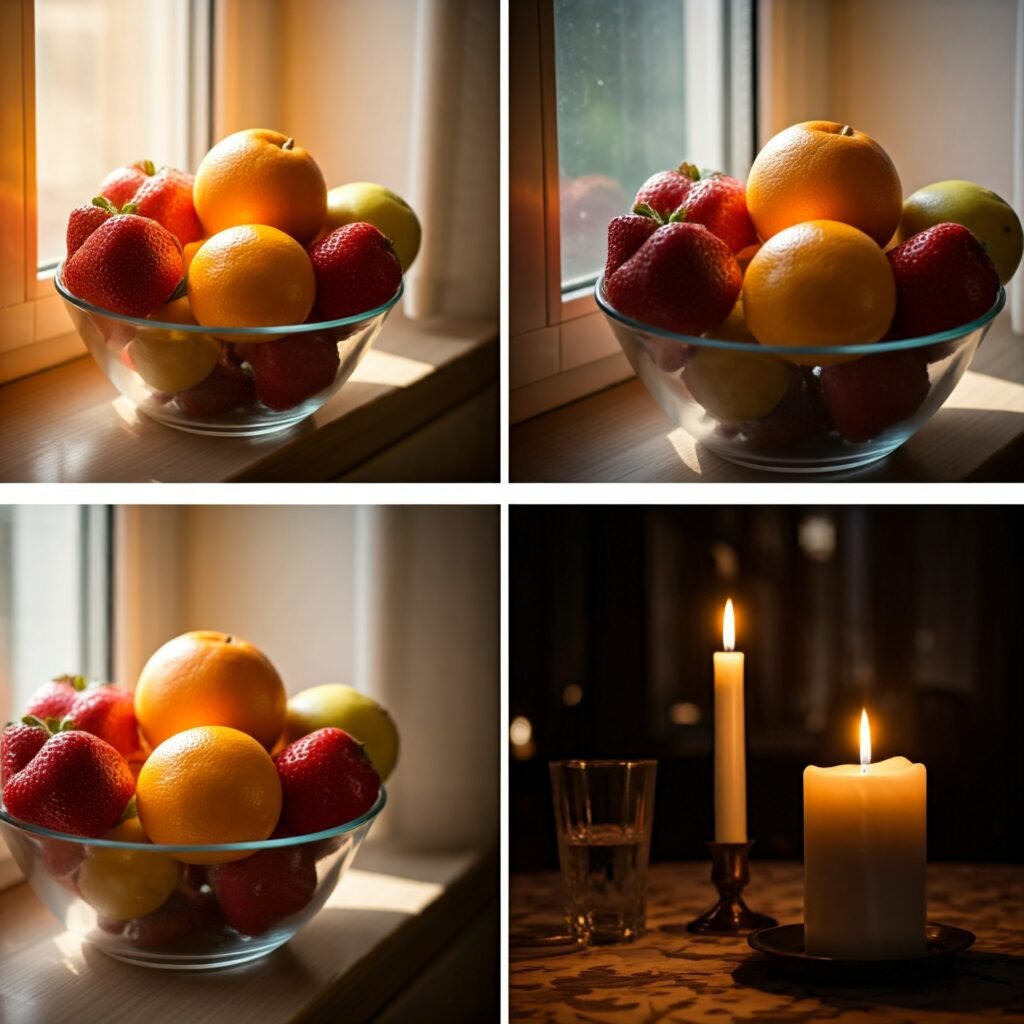
When preparing your food photography images, take note of how the light changes in every space and at different times. You may make good use of this knowledge. You may easily capture beautiful shots if you have a good understanding of how the light changes in your shooting area.
Reasons Why Most People Now Prefer Artificial Lights To Natural Light,
While many photographers prefer natural light, there has been a shift towards artificial lighting in food photography. The reasons for this are different, but some of the most important are consistency, editing, timing, and manipulation. Natural light can vary significantly in temperature and brightness, resulting in inconsistencies in your photographs.
This not only makes editing more difficult but also limits the timing and location of shootings. Artificial lighting gives you more control over the temperature and brightness, allowing for more consistent and easy editing. You also have the option to photograph anytime and anywhere you wish, without regard for the optimal lighting times of the day.
Moreover, artificial lighting gives more modification and experimentation, resulting in a better grasp of how light works. As you improve your artificial lighting talents, you will be likely to generate spectacular and consistent photographs that stand out in the field of food photography.
Ways For Making Artificial Lighting Look Natural,
It is likely to make artificial lighting resemble natural in food photography. It all begins with knowing what makes natural light appear, well, natural. This comprises the size and warmth of the light source, as well as how it reflects off the highlights and casts soft shadows. To get this effect with artificial lighting, use large soft boxes with a wide glow and look for lights that emit a warm, natural daylight-like temperature. Diffusers can also be used to soften the light to create a more natural radiance. Using artificial lighting in food photography may end in gorgeous and natural-looking photographs set you have the correct equipment and procedures.
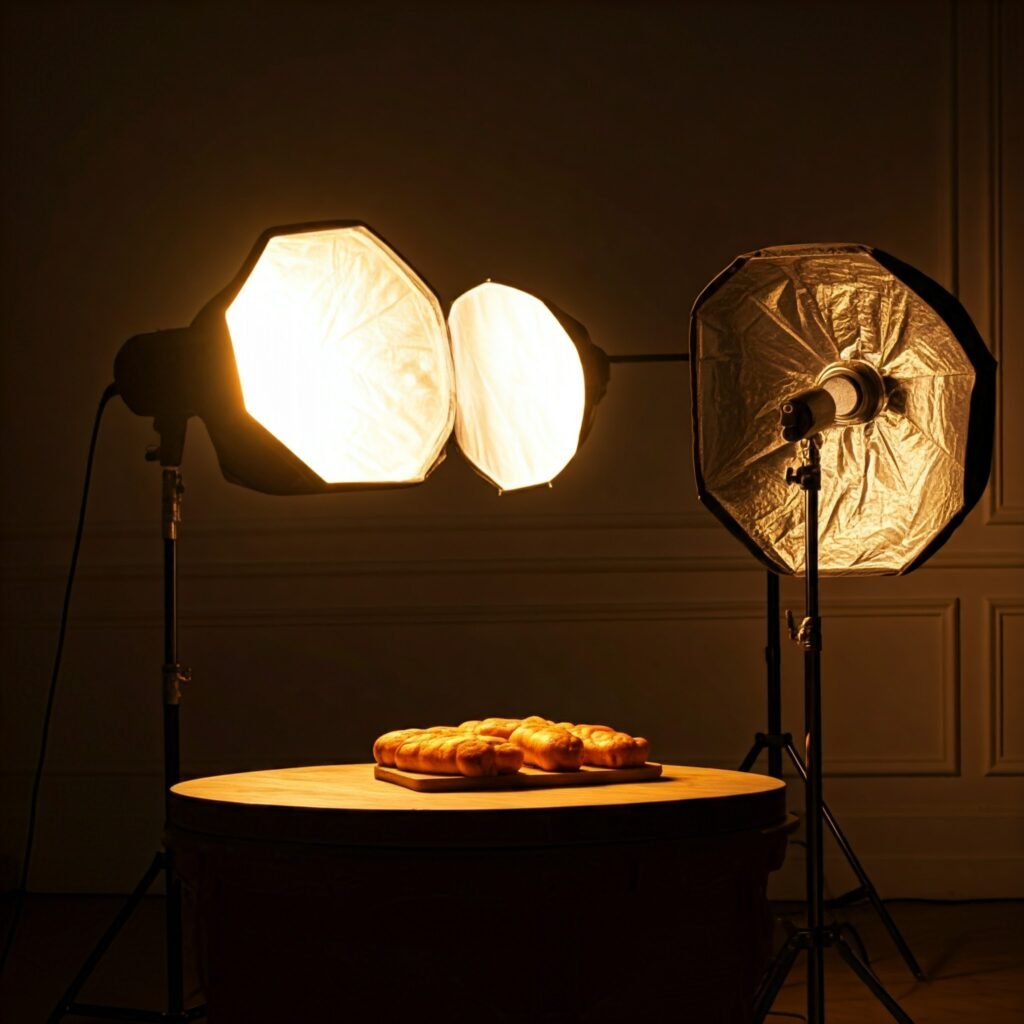
Lastly, the basic light setup for food photography frequently includes a window as the light source and a diffuser and reflector to alter the light. Soft light is also the most commonly used form of light in food photography, and understanding the two main light directions, sidelight, and backlight, will help you create unique moods in your photographs. As you continue to watch and learn about natural light, you will be able to capture its many different effects in your food photography. Keep up your wonderful work!
Guys, please note that I am a professional chef who also enjoys photographing food. Food photography is one of my hobbies, however, I am not a professional photographer; I am only sharing some of my basics with you.


